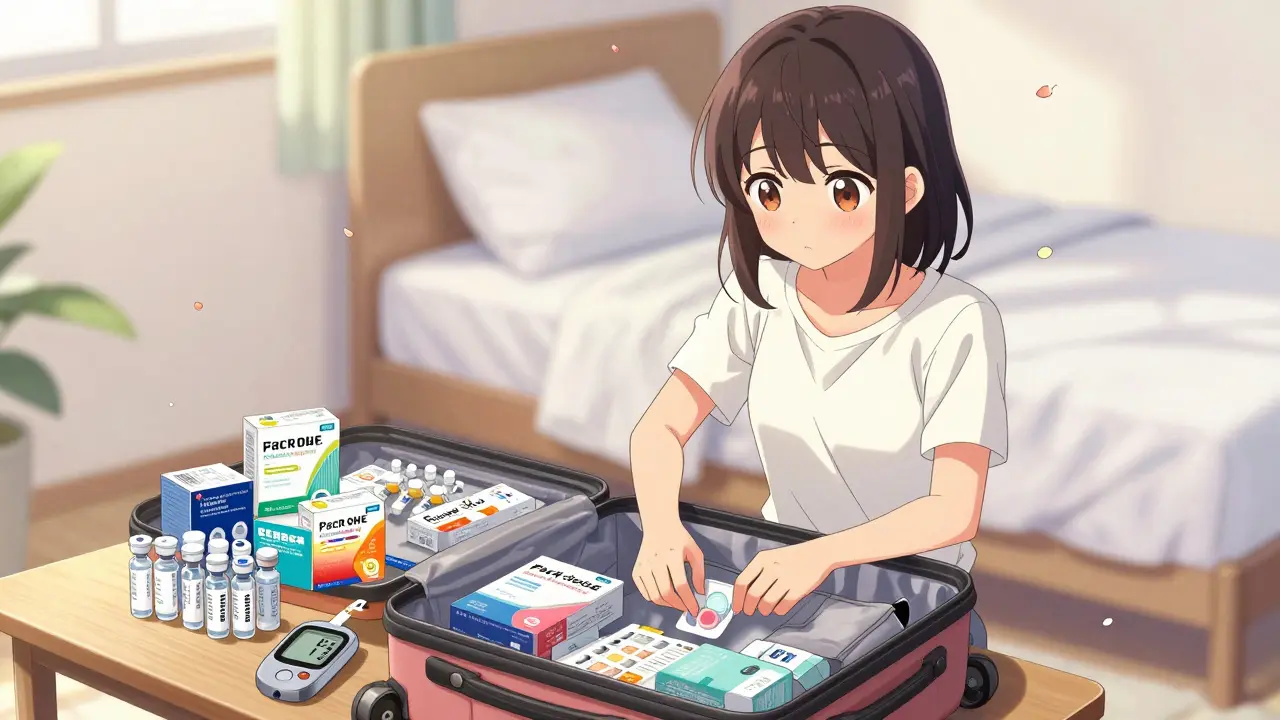
Imagine landing in a dream destination only to realize your insulin pump has glitched or a CGM sensor has peeled off in the humidity. It's a nightmare scenario, but for those managing Type 1 diabetes is a chronic condition where the pancreas produces little or no insulin, requiring external insulin delivery and constant glucose monitoring, it's a real possibility. The secret to a stress-free trip isn't just about a good itinerary-it's about a bulletproof packing strategy. Whether you're heading across the state or across an ocean, the goal is to keep your blood sugar stable so you can actually enjoy the sights instead of hunting for a pharmacy in a foreign language.
The golden rule of diabetes travel is simple: pack double. If you think you need ten infusion sets for a two-week trip, pack twenty. Between lost luggage, unexpected flight delays, and the dreaded "sensor failure," having a massive safety net is the only way to travel without constant anxiety. Most experienced travelers follow the "double-up" method for everything-test strips, lancets, and insulin vials-because running out of supplies in a remote area isn't just inconvenient; it's a medical emergency.
The Insulin Survival Kit: Keeping it Cool
Insulin is a fickle molecule. According to the American Diabetes Association, insulin should be stored between 40 and 86 degrees Fahrenheit. The biggest mistake people make is putting their insulin in checked luggage. Cargo holds can drop below freezing, and frozen insulin is useless insulin-some studies show effectiveness can drop by 30% after freezing. Keep all your insulin in your carry-on.
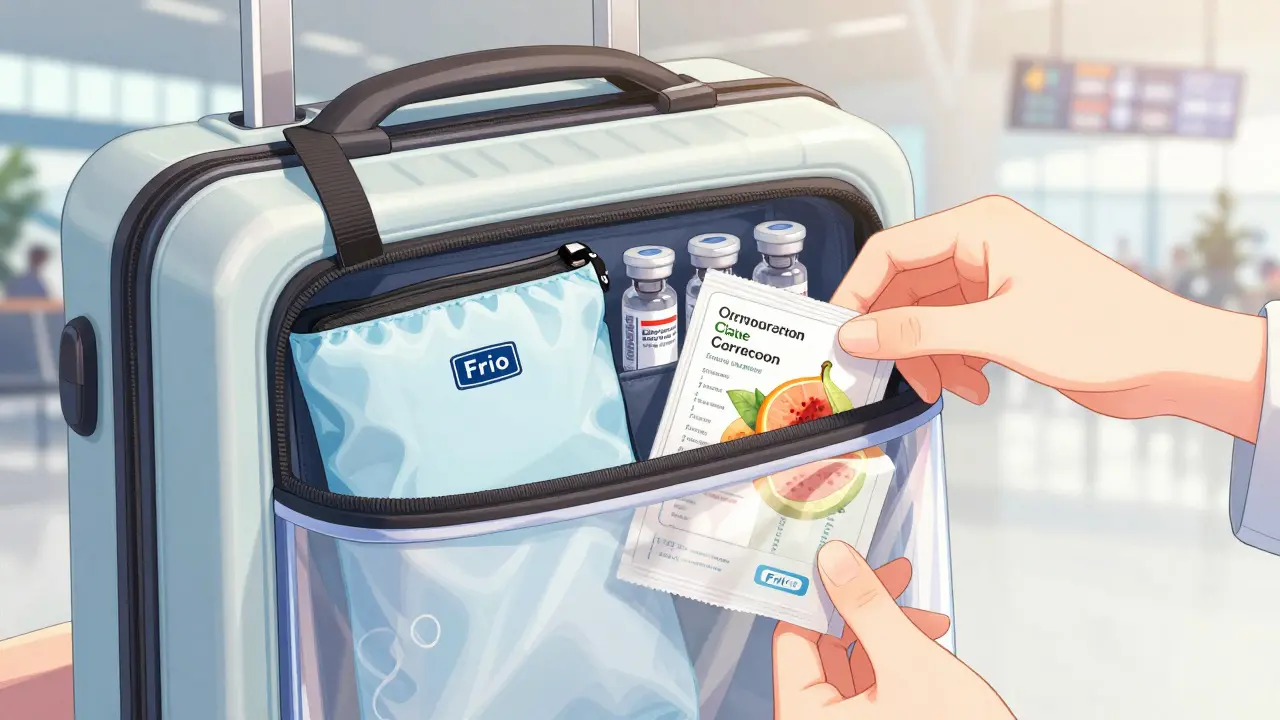
If you're heading to a hot climate, a standard cooler bag often isn't enough for long hauls. This is where a Frio Insulin Cooling Sleeve becomes a lifesaver. It's a cooling wallet that uses evaporative cooling to keep insulin safe for days without needing a fridge. For those who prefer a more traditional approach, a Sugar Medical Insulated Travel Bag provides a sturdy, temperature-controlled environment for longer flights.
| Solution | Best For | Pros | Cons |
|---|---|---|---|
| Frio Sleeve | Hot climates / Day trips | No ice needed; lightweight | Requires water activation |
| Insulated Bag | Flights / Hotel storage | Protects against bumps | Requires gel packs |
| Hotel Mini-Fridge | Long-term stays | Consistent cooling | Not portable |
Mastering CGM and Pump Packing
If you use a Continuous Glucose Monitor (CGM) like Dexcom or FreeStyle Libre, you know that sensors occasionally fail. A week-long trip should include at least 2-3 backup sensors. Don't forget the adhesives. Humidity and swimming can rip a sensor right off your arm; using something like Skin Grip CLEAR tape can keep your sensor secure through a tropical vacation.
For the pump users, the risk is a bit higher. If a pump malfunctions in a remote area, you need a manual backup. Always pack a set of insulin vials and syringes, even if you haven't used them in years. It's your fail-safe. If you're traveling internationally, check if your manufacturer, such as Tandem Diabetes Care or Insulet, offers loaner pump programs for overseas trips. This can save you from the logistical nightmare of trying to replace a device abroad.
Navigating Airport Security and TSA
Getting through security can be the most stressful part of the journey, especially with the fear of a "low" while standing in a long line. The good news is that the TSA allows all diabetes supplies, including liquids and needles, through checkpoints. To speed things up, pack your medical gear in a separate, clear, sealable bag. This makes it easy for agents to see what's inside and reduces the chance of your gear getting mixed up with your toiletries.
A pro tip for frequent flyers is to carry a printed TSA Disability Notification Card. It's a simple piece of paper that tells agents you have a medical condition and need your supplies. This often cuts down on questioning and reduces screening delays. Also, look into the "Medical PreCheck" program if you're a US-based traveler; early data suggests it can significantly reduce the time spent in security lines.

Fueling the Journey: Managing Lows on the Go
Airport food is rarely "diabetes-friendly," and the stress of travel can send your blood sugar swinging. Traditional glucose tablets work, but they're bulky and can taste like chalk. Many seasoned travelers have switched to compact options like organic fruit leathers. They are small, lightweight, and fit easily into a pocket or small purse, making them far more convenient for treating a sudden drop in blood sugar while boarding a plane.
Keep your fast-acting carbs in three different places: your pocket, your carry-on, and your personal bag. If you have to check a bag, put a secondary stash of snacks and test strips there-but never the insulin. If your carry-on is somehow lost or delayed, you'll at least have the means to treat a low while you figure out the insulin situation.

The Paper Trail: Essential Documentation
Your medical gear is useless if you can't prove it's yours or if you don't have a plan for an emergency. A formal letter from your doctor is non-negotiable. This shouldn't just say "Patient has diabetes," but should include your specific care routine, insulin-to-carb ratios, and correction factors. If you end up in a clinic in another country, this document allows the local doctors to provide care that matches your home routine.
Be especially careful with international insulin concentrations. While U-100 insulin is the standard in the US, some countries use U-40 or U-80. Taking U-100 insulin with a U-40 syringe can lead to a dangerous overdose. Always verify the concentration of any insulin you are forced to purchase abroad and cross-reference it with your doctor's letter.
Can I take my insulin through airport security?
Yes, the TSA allows insulin, syringes, and pumps through security checkpoints. It is recommended to keep them in a clear bag and notify the agent that you are carrying medical supplies. Insulin should always stay in your carry-on luggage to avoid freezing in the cargo hold.
What happens if I lose my CGM sensors while traveling?
This is why packing 2-3 extra sensors is critical. If you run out, you should rely on a backup blood glucose meter and test strips. If you are in a foreign country, check with your travel insurance or the device manufacturer for emergency replacement options.
How do I handle time zone changes with my insulin schedule?
Time zone shifts can be tricky for basal insulin. It's best to plan your adjustments 15-20 minutes per time zone crossed. Consult your doctor to create a sliding scale or a specific schedule to avoid overlaps or gaps in your medication coverage.
Is there a way to keep insulin cool without a fridge?
Yes, tools like the Frio Insulin Cooling Sleeve use evaporative cooling to keep insulin within a safe temperature range for several days without needing electricity or ice. Insulated bags with gel packs are another viable option for shorter durations.
What is the most important document to carry when traveling?
A signed letter from your healthcare provider is the most critical document. It should detail your diagnosis, required medications, dosages, and emergency protocols, which is essential for both security checkpoints and emergency medical care abroad.
Next Steps for Your Trip
If you're preparing for your first big trip, start by auditing your current supplies. Check the expiration dates on your backup insulin and ensure your glucose meter has a fresh battery. If you're traveling as a family, divide the supplies-put one set of basics in your partner's bag and another in your own. This ensures that if one bag is lost, the entire family isn't left without a way to manage their blood sugar.
Finally, do a "dry run" of your packing. Lay everything out on the table and use the "Post-It note method"-stick reminders on your front door for the items you always forget, like your backup syringes or that one specific adhesive tape. A little bit of over-preparation now means you can spend your vacation focusing on the experience, not your gear.